|
You can upgrade to macOS Sierra from OS X Lion or later on any of the following Mac models. Your Mac also needs at least 2GB of memory and 8.8GB of available storage space.
Check compatibility
MacBook introduced in late 2009 or later
MacBook Air introduced in late 2010 or later MacBook Pro introduced in mid 2010 or later Mac mini introduced in mid 2010 or later iMac introduced in late 2009 or later Mac Pro introduced in mid 2010 or later
To find your Mac model, memory, storage space, and macOS version, choose About This Mac from the Apple menu . If your Mac isn't compatible with macOS Sierra, the installer will let you know.
Mac OS X and macOS both come with a built-in compression system that can zip and unzip files. This integrated system is relatively basic, which is why many third-party apps are also available. A quick look at the Mac App Store reveals more than 50 apps for zipping and unzipping files. Unzip from the Command Line. If the two methods from above don’t work, a third option to unzip a cpgz file on Mac OS Sierra is to use the command line unzip tool. Generally this is used to break archives out of the.zip to.cpgz cycle. The steps below will show how to do this for the original.zip archive: Turn on your Apple computer; Open. On your Mac, do any of the following: Compress a file or folder: Control-click it or tap it using two fingers, then choose Compress from the shortcut menu. Mac os x mavericks requirements. If you compress a single item, the compressed file has the name of the original item with the.zip extension. If you compress multiple items at once, the compressed file is called Archive.zip.
Make a backup
Before installing any upgrade, it’s a good idea to back up your Mac. Time Machine makes it simple, and other backup methods are also available. Learn how to back up your Mac.
Get connected
It takes time to download and install macOS, so make sure that you have a reliable Internet connection. If you're using a Mac notebook computer, plug it into AC power.
Download macOS Sierra
For the strongest security and latest features, find out whether you can upgrade to macOS Catalina, the latest version of the Mac operating system.
If you still need macOS Sierra, use this link: Download macOS Sierra. A file named InstallOS.dmg will download to your Mac.
Install the macOS installer
Double-click the downloaded file to open a window showing its contents. Then double-click the file within, named InstallOS.pkg.
Follow the onscreen instructions, which will guide you through the steps necessary to install.
Begin installation
After installation of the installer is complete, open the Applications folder on your Mac, then double-click the file named Install macOS Sierra.
Click Continue and follow the onscreen instructions. Screenfetch for mac os x. You might find it easiest to begin installation in the evening so that it can complete overnight, if needed.
Allow installation to complete
Please allow installation to complete without putting your Mac to sleep or closing its lid. Your Mac might restart, show a progress bar, or show a blank screen several times as it installs both macOS and related updates to your Mac firmware.
Learn more
In this article, I will show you how to create macOS High Sierra Bootable USB Via Unibeast. However, if you want to install macOS High Sierra on any kind of computers such as Mac or PC. Therefore, you need a bootable USB to install the operating system, but there are lots of methods to create bootable USB for macOS High Sierra. However, I recommend you to use this method it can easily and comfortable for you. Moreover, if you don’t know how to install macOS High Sierra operating system on your Windows operating system, on VMware and VirtualBox therefore, you can see this article, which belongs to the installation of macOS High Sierra.
What is Unibeast?
UniBeast is a tool by MacMan and tonymacx86 to create a bootable USB drive from any Mac App Store purchased copy of OS X. This is an all-in-one bootable USB drive can also be used as a rescue boot drive for system recovery. However, without this tool, there is TransMac that you can use them on your Windows operating system. And more there are more tricks to create bootable USB for macOS High Sierra that you can use them.
Related:
Create macOS High Sierra Bootable USB
Step #1.Download the latest version of macOS High Sierra operating system from App store or Techsprobe.com.
Step #2.Download Unibeast for macOS High Sierra from tonymacx86. Before going to download you need to create an account on TonyMacx86 after that, the download link will appear on the list.
Step #3. Before to start the process of creating a bootable USB you need to insert the USB drive to your computer. Then navigate to search bar of macOS High Sierra, then type there DISK UTILITY, after that, click on erase button. Be aware that you are selected the Mac OS Extended (Journaled) from the format list. However, you need at least 8 GB USB Drive or more then it, it can be better.
Erase USB Drive
Step #4. After the erasing is completed, you will be notified that Erase process is complete, click Done to Continue.
Install Unibeast to create macOS High Sierra bootable USB
Step #5. After that, you erased the USB drive, Now open the Unibeast installer and click Continue.
Welcome to Unibeast Mac App Installer
Step #6. In the important information read all the information about Unibeast+Multibeast, and click Continue.
Step #7. In this step, to continue the installation software you must agree, to the terms of the software license agreement. Then click Continue then Agree.
Agree to terms and condition
Step #8. In this step, the erased USB drive will appear on the screen, you need to select this drive and click Continue.
Select a Destination
Step #9. In this step, select the installation type the DMG file of macOS High Sierra just click on Sierra and click Continue.

Step #10. In the step of bootloader configuration, select UEFI Boot mode and click Continue.
Bootloader configuration
Step #11. In this step, select inject NVIDIA from Graphics configuration and click Continue.
Graphics configuration
Step #12. In this step, don’t do anything simply click Continue.
Step #13. Before this step, you need to enter your username password to give the full permission. Then you need to wait for some seconds to copy the macOS High Sierra DMG file to the USB drive.
Copying files
Step #14. In this step, you will completely be done with creating macOS High Sierra Bootable USB so press Quit button to finish the installation of Unibeast.
Install Succeeded
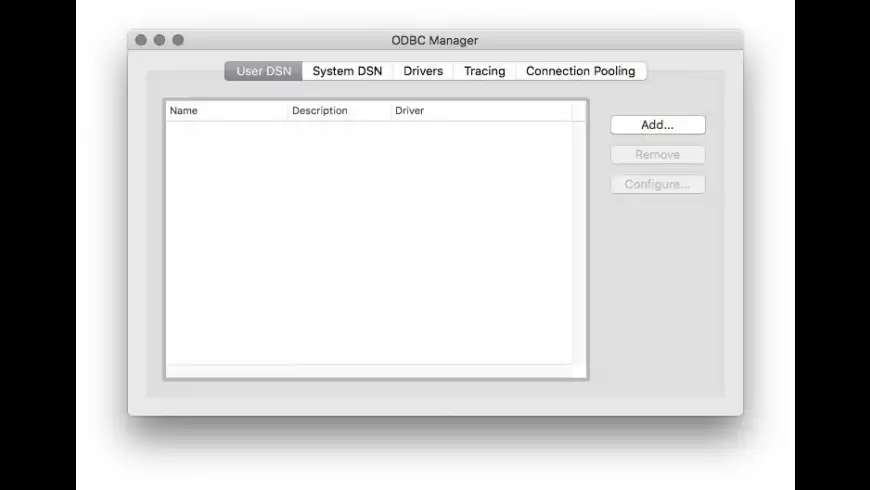
Iodbc-42.5.tar.gz is not the latest iODBC source, though it is what Apple has on their 'FOSS in macOS' site; it is based on iODBC 3.52.6 (of October, 2007). The latest (3.52.12, as of this writing) always comes from iodbc.org. – TallTed Dec 27 '17 at 19:22. Oct 24, 2019 Mac mini introduced in mid 2010 or later iMac introduced in late 2009 or later Mac Pro introduced in mid 2010 or later. To find your Mac model, memory, storage space, and macOS version, choose About This Mac from the Apple menu. If your Mac isn't compatible with macOS Sierra, the installer will let you know. The sources for the iODBC Driver Manager are available for download or by checkout from Github, or for download as a tarball on SourceForge; you can also read the ChangeLog. Mac OS X builds of 3.52.10. This package contains iODBC as a Framework plus the GUI iODBC Administrator.app and bindings for Microsoft Office. Dec 07, 2017 The crash problem begun just after I upgraded macOS X Sierra to macOs X High Sierra Version 10.13.1. Excel version is 15.39.0.17101000. ODBC Manager version is 1.0.14. IODBC Administrator version is 3.52.12. Actual Access Driver version is 4.1.0. I am disappointed because the process was OK before the upgrade. I don't know what went wrong. OpenLink's Darwin client installer provides the iODBC driver manager. Users may also encounter unixODBC, mac:ODBC, and other driver managers. Mac Classic a/k/a Mac OS 9: OpenLink's Mac Classic client installer provides its own driver manager for this platform.
 ConclusionUnzip Software For Mac High Sierra Requirements
That’s all about How to create macOS High Sierra Bootable USB Via UniBeast. Therefore, if you faced in any part of this process you can comment on the below comment box. However, subscribe to our website for getting the notification about our latest updates. And don’t forget to give us feedback for your more support.
Comments are closed.
|
AuthorWrite something about yourself. No need to be fancy, just an overview. ArchivesCategories |
- Blog
- Home
- X Windows For Mac Os
- Youtube App For Mac High Sierra
- Unetbootin For Mac Os X 10.7
- Mac Os High Sierra Too Many Authentication Failures For Ssh
- Ring App For Mac Os X
- Uno For Mac Os X
- Desktop Shortcut For Mac Os X
- Dropbox Download For Mac Sierra
- Activex For Mac High Sierra
- Os X Mavericks For Pc Download
- Bluestacks For Mac Os X Yosemite
- Create Bootable Usb Flash Drive For Macos Sierra
- Finder Icons For Mac Os X
- How To Create A Usb Install Disk For Macos Sierra
- Av Player For Mac Os Sierra
- Tg Pro For Mac Os X Website
- Tivo Desktop For Mac Sierra
- Download Gimp For Mac Os Sierra
- Kies For Mac Os Sierra
- Download Chrome For Mac Mojave
- Fl Studio For Native Os X
- Virtualbox Settings For Mac Os X
- Java For Os X Yosemite Apple
- Problems With Word For Mac 2011 High Sierra
- Make Bootable Usb For Mac High Sierra
- Mac Os Sierra Widget For Keyboard
- Epson Scanner Software For Mac Sierra
- Downloader Manager For Os X
- How To Make Bootable Usb For Mac High Sierra
- Best Apps For Os X Sierra
- Eclipse For Mac Mojave
- Fingerprint Reader For Mac Os X
- Mozilla For Mac Os X Yosemite
- Os X Software For Academics
- Bible Download For Mac Os X
- Kaspersky For Os X 10.6
 RSS Feed
